Last Updated on August 19, 2022 by
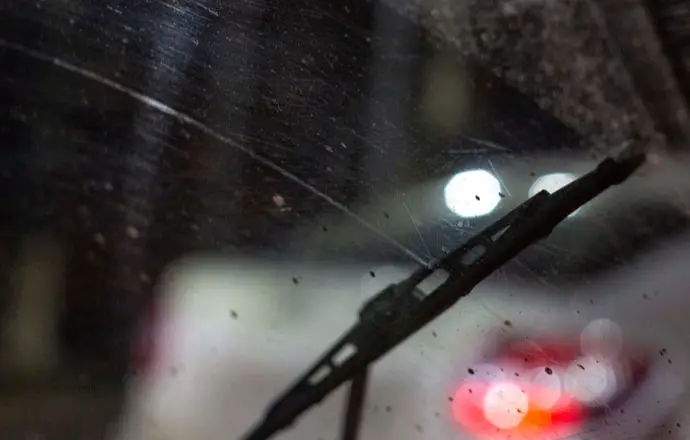
It might have happened when you were driving down a country road and your vehicle was suddenly pelted by a fierce windstorm kicking up all manner of debris. It might have happened when you were working your way through London’s streets or hitting the M25 and got into an accident. It might have happened because of natural causes, human error, or a mixture of the two. There are any number of reasons why your car’s windscreen may have become scratched, but whatever the underlying cause of this dilemma, you now need to find a solution.
This step by step guide can help you diagnose and address some of the most common causes of car windscreen scratches with expert removal strategies.
1. Assess the Nature of the Scratch
First and foremost, you need to know how deep and serious the scratch is. If you have a slight, superficial scratch, you’re probably looking at a very fast repair process. If the scratch is more significant, such as one which runs several millimetres or a centimetre or two deep, you may be looking at a more substantial task ahead of you.
As a rule of thumb, if your fingernail doesn’t get caught or roughened when you run it over the scratch, it’s probably more superficial in nature, whereas if it does, the scratch is likely more serious.
2. Select the Right Materials
Once you have a better idea of the severity of the scratch, it’s time to pick the right tools, and that means seeking out a repair kit. Most serious windscreen repair kits will include cerium oxide, which is a bonding agent which helps seal cracks while preventing future damage.
This is not the only option at your disposal, however. For example, you may want to use an acrylic scratch remover or a non-gel toothpaste which contains baking soda instead of cerium oxide. The latter especially is far more affordable than cerium oxide, and both can work well on light scratches. For a more serious scratch, however, cerium oxide or at the very least an acrylic remover will be needed.
Cerium oxide isn’t the sort of substance you want to fool around with, so make sure you are using a pair of gloves, goggles, and a dust mask while applying it.
3. Prepare Your Windscreen
Now it’s time to prepare your windscreen for the repair process, and that begins with giving it a good scrub down. You don’t want any particulates to get mixed up with any of the materials you’ll be using to repair the scratch, nor do you want them getting into the scratch itself. That said, a windscreen which has suffered a scratch can be more fragile than usual, so you’ll want to take care and be gentle while applying pressure and washing it, especially near the scratch itself.
Dish soap is not an effective car windscreen cleaner. Instead, you may want to turn to a mixture of water and distilled white vinegar or an all-purpose cleaning agent to do the job.
Let the surface dry completely before proceeding with the scratch remover.
Use painter’s tape to demarcate the edges of where you’ll be working.
Between the vinegar solution and the cerium oxide or acrylic scratch remover, you’ll be working with substances with fumes and odours, so be sure you are working in a well-ventilated area and away from sources of heat.
4. Remove the Scratches
Finally, it’s time to apply the scratch remover.
Apply whichever remover you are using to the scratches on your windscreen with a clean piece of cloth. Spray these compounds with a bit of water while making sure that you don’t apply too much pressure – you don’t want to make the scratches worse or crack or shatter your windscreen.
At this point you’ll want to buff out the scratches. You can either do this by hand or with a machine, although in the case of the latter, you’ll want to make sure to start out at a low setting so as to avoid applying excessive pressure. You can always increase the setting if needed.
Let the freshly-applied, newly-buffed substance dry over the scratches, and voila.
With this simple yet effective process, you can eradicate scratches and make your car’s windscreen as good as new.
