Last Updated on August 26, 2022 by
It can generally go without saying that most people want to keep their cars as clean as possible. There are many ways that people can go about getting this done. From getting regular car washes to owners cleaning their cars themselves, there are good reasons why most of the cars on the road are shining.
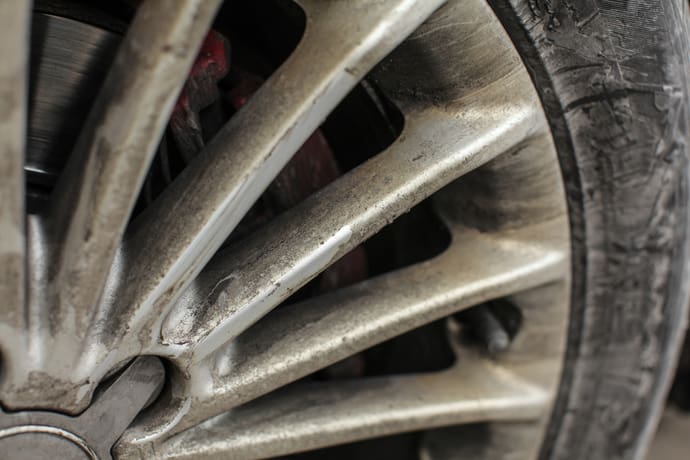
However, there might come a time where you begin to wonder where some of the dust and grime on your car comes from. For instance, while it might be obvious why the wheels of the car get dirty, not all of the dirt comes from driving through the mud. A fair amount of dust and dirt can come from brake dust.
If you want to be able to get rid of the brake dust on your car’s wheels, you are first going to need to understand what brake dust is. From there, you will want to collect the supplies and equipment needed to fully remove all of the dust from your wheels. By the time you finish doing all of this, you can rest assured knowing that your car will look spectacular with bright, shiny wheels.
Understanding What Brake Dust Is
There are a lot of different types of dust that can get onto the wheels of your car, especially if you live in a particularly dry, arid, or sandy area. However, brake dust is a little bit different than most types of dust. As the name might suggest, brake dust comes from the brakes. Because the dust originates from the brakes, it doesn’t have to travel very far before hitting the wheels, causing your wheels to become grimy quickly.
As for what the brake dust itself contains, it is often a mix of dirt, dust, sand, bugs, tar, and small metallic bits from the motor pads. This is where the problem with brake dust lies. These metallic particles will harm the finish on most wheels, causing them to become scratched over time. The longer you leave brake dust on the wheels, the more likely it is that permanent damage will be done. If you want to make sure that your wheels stay looking good, you will want to follow a simple four-step process to get the wheels clean.
Step One: Getting the Dust Off the Wheels
First things first; you are going to want to make sure that you get the dust off of the wheels. This step is arguably one of the simplest steps to follow, although finding a high-pressure water source might be difficult on some occasions. At the very least, you will want to invest in a high-quality, adjustable hose nozzle. From here, you will want to get the water pressure as high as it will go without damaging the wheel. You should spray as much water as you can around the spokes of the wheel, around the tire, and even in the wheel well opening to get as much of the brake dust out as you can. Additionally, you will want to make sure that the wheel is thoroughly wet before you move onto the next step.
Step Two: Keeping the Wheels Clean
Now that the wheels are soaked, you will want to apply a wheel-safe cleaning solution. This part will take a fair amount of research to try and find a solution that will not end up doing more damage to the wheel and its finish. Harsher chemicals can damage a wheel’s finish and some metals can be weak enough to be damaged by them as well. Thankfully, there is a plethora of cleaners out there to choose from that are not only delicate but also strong enough to break down that brake dust.
Once you have found a cleaning solution that is suitable for your wheels, you will want to simply spray on the solution (assuming that the wheels are still wet from the previous step; if not, wet them again) and then allow the solution to do its job. The exact amount of time that this will take depends entirely on the solution, although it is rarely more than three minutes. Now you will be ready for the next step.
Step Three: Spreading the Solution
Once the solution has been applied, you should use a cleaning brush to spread the solution to as many nooks and crannies within the wheel area as you can. In particular, you will want to make sure that you get to the wheel openings and the sides of those openings as this is where brake dust tends to accumulate the most. Doing this helps to ensure that your wheel is protected for longer. If you do not have a brush, they are generally fairly cheap to purchase and they come in a number of different sizes, allowing you to work with your wheel as much as possible.
Step Four: Protecting the Wheel
Now that the solution has been spread and applied, you will want to make sure that the wheel remains protected not only from the brake dust but from anything else that can damage the wheel. Pebbles, grit, sand, and other particles that are on most roads can do a number on your wheels after a while.
Thankfully, you can curb the amount of damage that these do by applying a protective wax to the wheel. Much the same as finding a cleaning solution, there are different waxes for different vehicles. Just make sure that you do not wax the brakes.
