Last Updated on August 26, 2022 by
Having tired-looking wheels on your car can make it look far older and more run-down than it actually is. That is why getting the wheels looking fresh again can make all the difference in the world from an aesthetic standpoint.
Sure, you could spend thousands of dollars getting your car repainted or adding extras to the body of the car to make it look bright and new, but you can also keep the wheels clean and give your car that pop of bright shine that can elevate any vehicle.
Instead of taking your vehicle to a mechanic to get a wheel refurbishment done, there are a number of things that you can do to refurbish your wheels yourself. These do-it-yourself tips can help your wheels look fresh out of the factory even if the rest of your vehicle doesn’t.
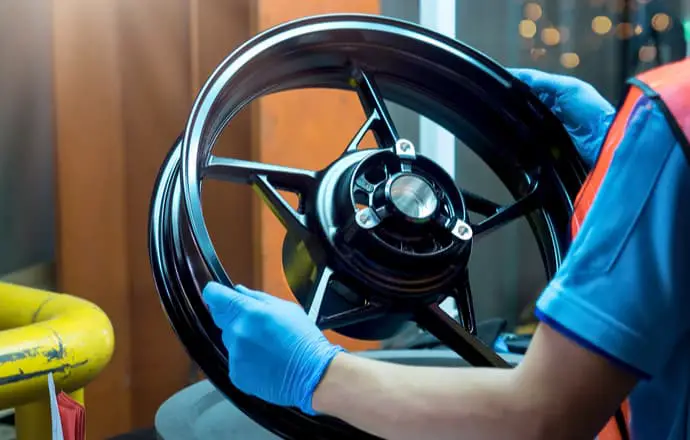
Take the Wheels Off
It is important to note that if you do everything properly, it will take 2-4 hours to refurbish each wheel. You may want to break the project up over a weekend so you don’t have to complete the whole thing in one long day.
You can definitely refurbish the wheels while they are still on the car, but it isn’t an ideal scenario. You need to have easy access to the entirety of the wheel and have access to plenty of natural light so you can actually see what you’re doing.
Because the project is a long one, consider removing just one wheel at a time. Doing so will help you focus on that individual wheel and stay committed to the task at hand instead of thinking about how much more time it will take until the project is finished.
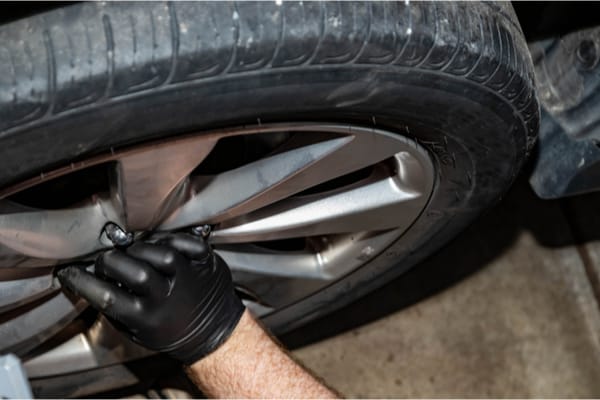
Thoroughly Clean Each Wheel
It is essential that the wheels be cleaned thoroughly. After all, if you rush through this stage, there can be dust and dirt that cling to the base of the paint. That’s a waste of time and won’t do anything to help the overall aesthetic of the wheels.
Use warm, soapy water and perhaps something like a wooden chopstick to remove chunks of debris from the wheel. Dust and dirt should come off relatively easily, but brake dust can create a problem if it has built up over time. If you need to get rid of brake dust, you may need a specialised cleaner such as an iron fallout remover to get the job done.
Whatever you need to do to get the wheels as clean as possible, do so to save yourself time, money, and frustration in the long run.
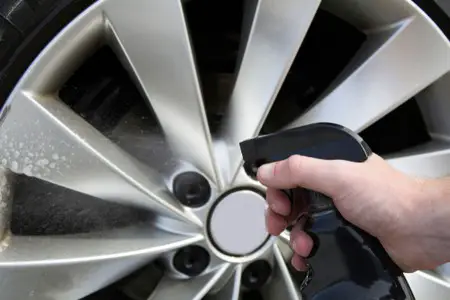
Tape the Tyres
Much like painting a room in your home, the idea here is to use masking tape around the tyre so that only the alloy is visible. If your wheels are not as clean and dry as they can be, the masking tape won’t adhere properly, and it will only create more frustrations.
The reason for the masking tape is to ensure that you don’t get paint or primer on the tyre itself. Not only that, but taping it helps to produce that neat, clean finish that can make the refurbishment process really work properly.
Sand and Fill
The grit of sandpaper that you will need for this step depends on the condition of the wheel. If it is corroded or the paint has flaked, you will need sandpaper that is coarse enough to take it right down to the bare metal. If it is in pretty good shape, use finer sandpaper to get debris off of the area without heavily stripping the area.
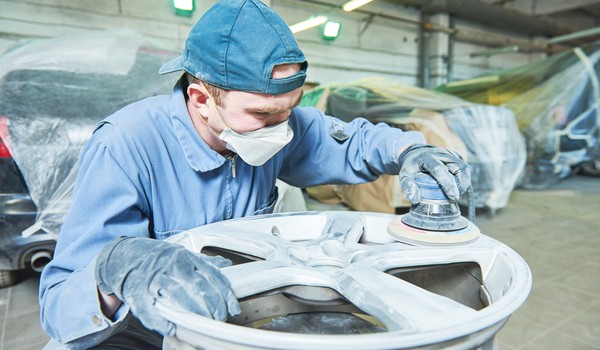
When you have finished sanding, be sure to wipe the area thoroughly to clean away all the newly created dirt and debris. This process gives the paint a better surface to adhere to, so the finish looks consistent.
If there are defects or curbing marks on the wheel, you can use a special car body filler to get rid of the defects that can be a serious eyesore. Keep in mind that fillers generally take around 48 hours or so to completely dry, so factor that into your timetable.
After you have used the filler, go back to the sanding process and start over again. You want to create a clean surface that is just coarse enough for the paint to properly grip it. This ensures the best possible finish when you get to painting.
Prime and Paint the Wheels
If you haven’t gotten the importance of it, make certain the wheel is clean and dry. If it isn’t, the primer won’t adhere properly. Make certain that you spray the primer on in smooth, even motions and apply a thin coat to ensure the best finish.
Primer will likely need to be applied two or three times, but you can always add more. Make sure to allow the primer to dry thoroughly; you can use sandpaper afterwards to even out scratches or uneven surfaces, should they appear.
Choose the paint that you want to use. Using spray paint can provide a much more cost-effective way of painting and produce more professional-looking results. Make sure that the primer has dried properly and that the surface is clean, or you will have to do it again.
When you’re happy with the paint job, the last step is putting a protective clear coat over the top. This usually takes another 48 hours to dry, but it will help protect all the work that you have put into this process.
